 GasPass
 Guides › Getting started
1. Setting up GasPass
The first time you open GasPass it asks for the details that go on your certificates, quotes and invoices. It takes a few minutes, and you can change any of it later in Settings.
-
1Before you start
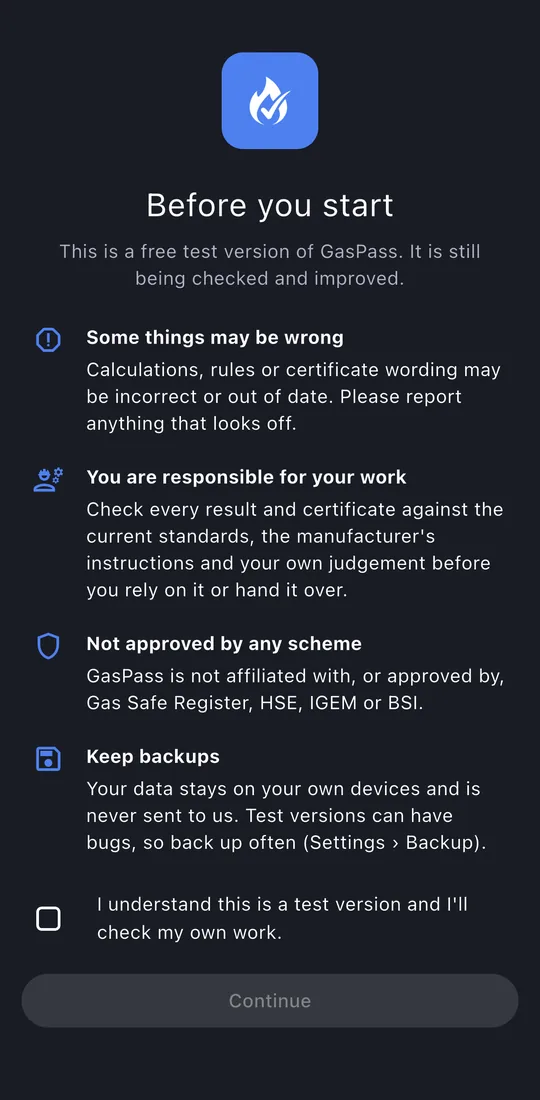
GasPass is a free test version. Read the notes, tick I understand this is a test version and tap Continue.
-
2Welcome
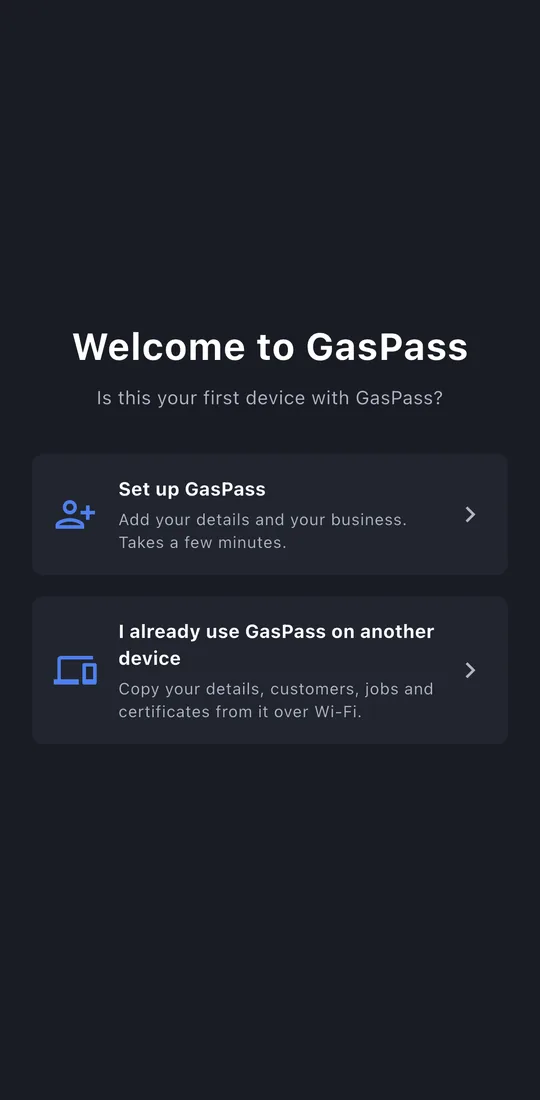
Tap Set up GasPass. If you already use GasPass on another phone, tablet or computer, choose I already use GasPass on another device instead: it copies your details, customers, jobs and certificates across over Wi-Fi, so there's nothing to type in again.
-
3You
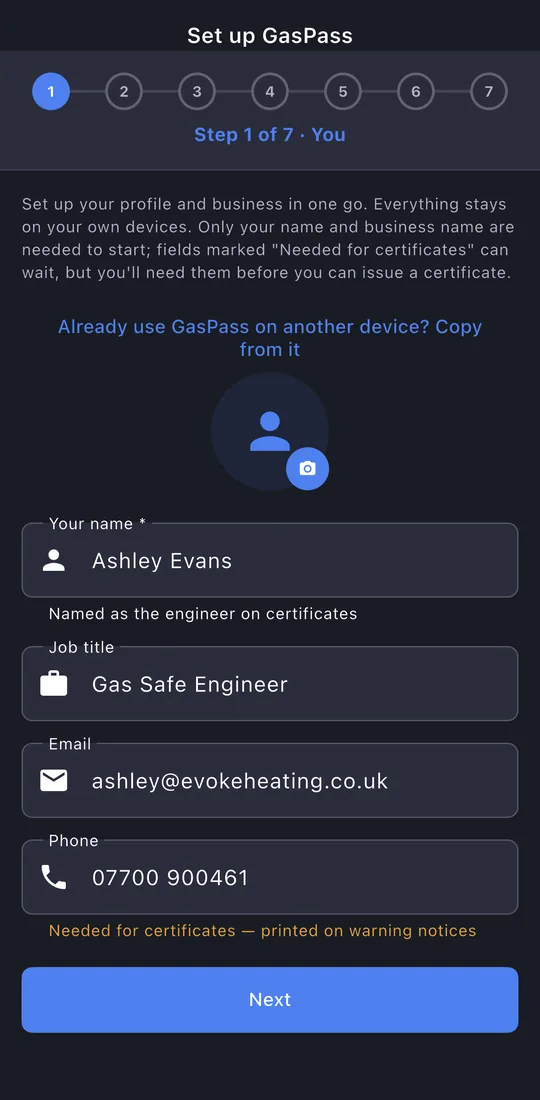
Only your name is required. It's printed as the engineer on your certificates. Add your phone number too: it goes on Warning Notices.
-
4Gas Safe
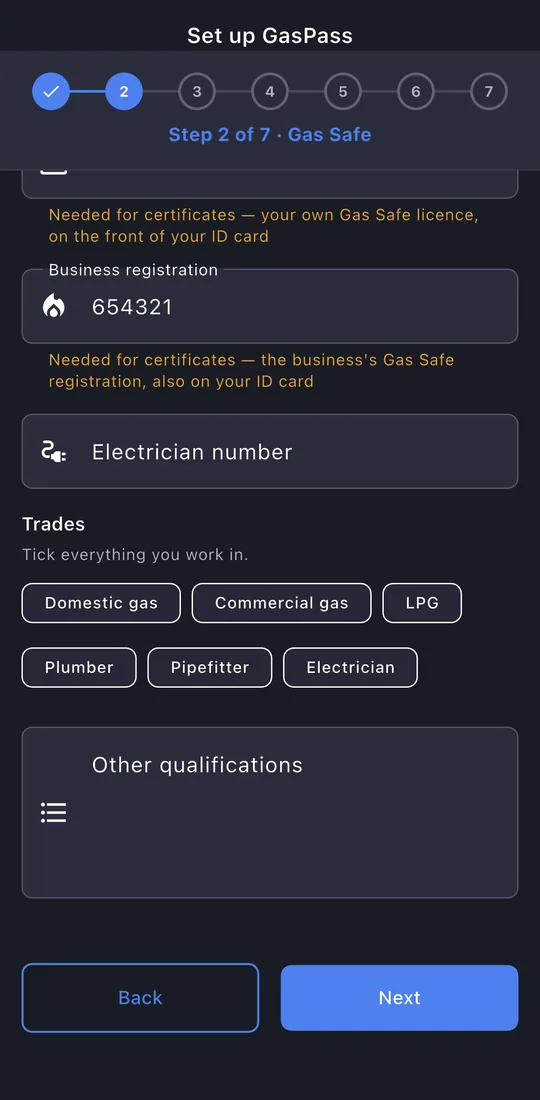
Gas certificates carry two different Gas Safe numbers:
- Your licence number: your own, from the front of your ID card.
- Business registration: the business's number, also on your ID card.
You can skip them for now, but you'll need both before you can issue a gas certificate. Anything still missing is marked Needed for certificates.
-
5Your business
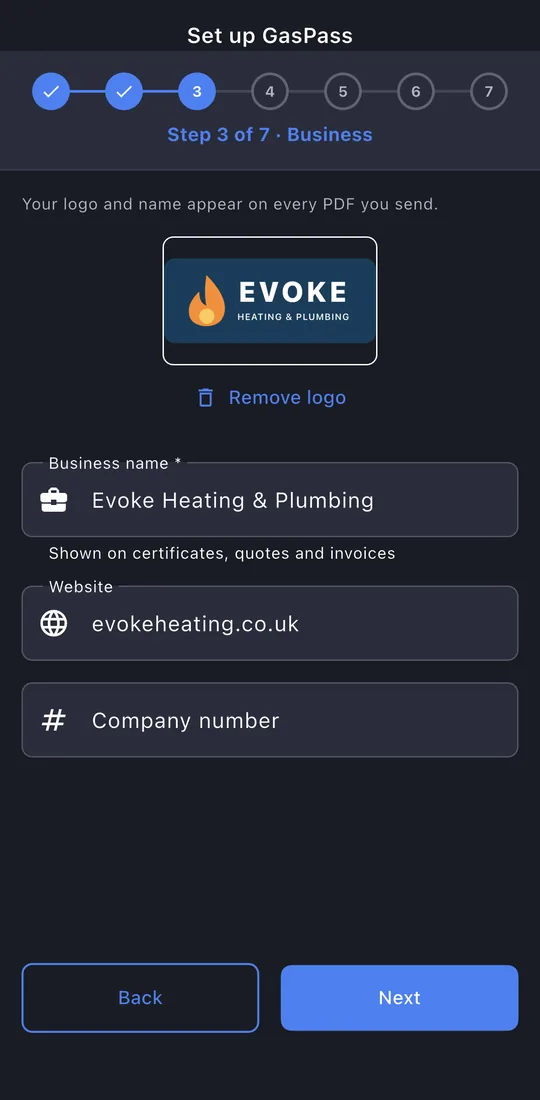
Add your logo and your business name. Both appear on every PDF you send.
-
6Address and contact
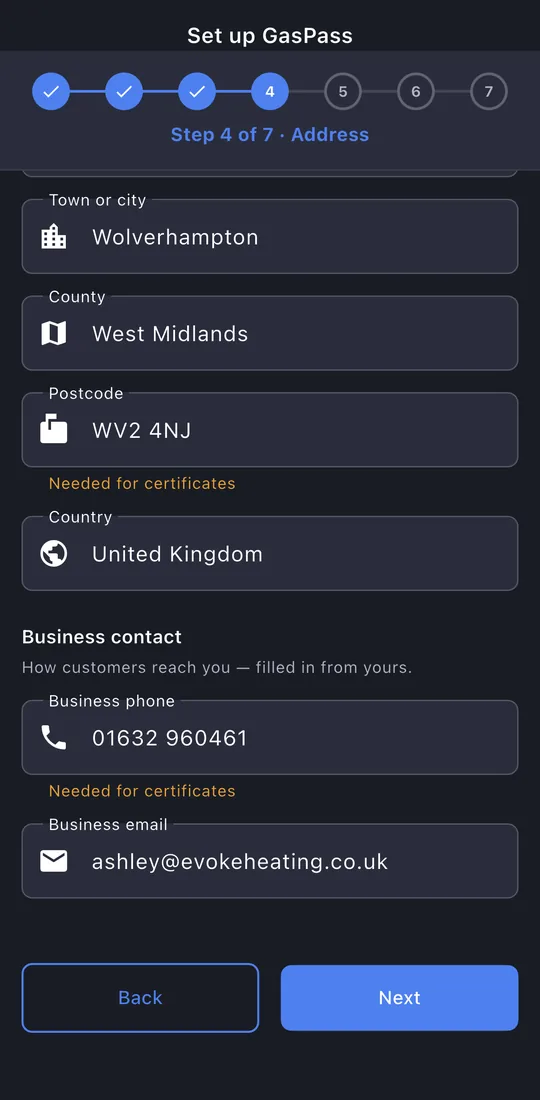
The business address and phone number printed on your certificates. The phone and email are filled in from yours; change them if the business has its own.
-
7Money
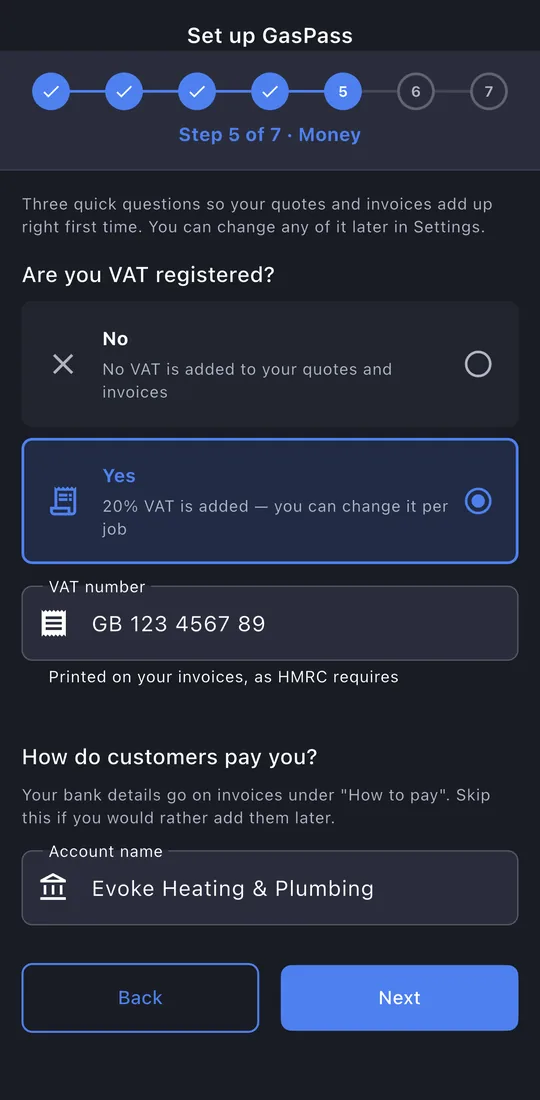
Three quick questions so your quotes and invoices add up right first time:
- Are you VAT registered? If so, add your VAT number.
- Your bank details, printed on invoices under "How to pay".
- Do you work for building contractors under CIS?
-
8Your signature
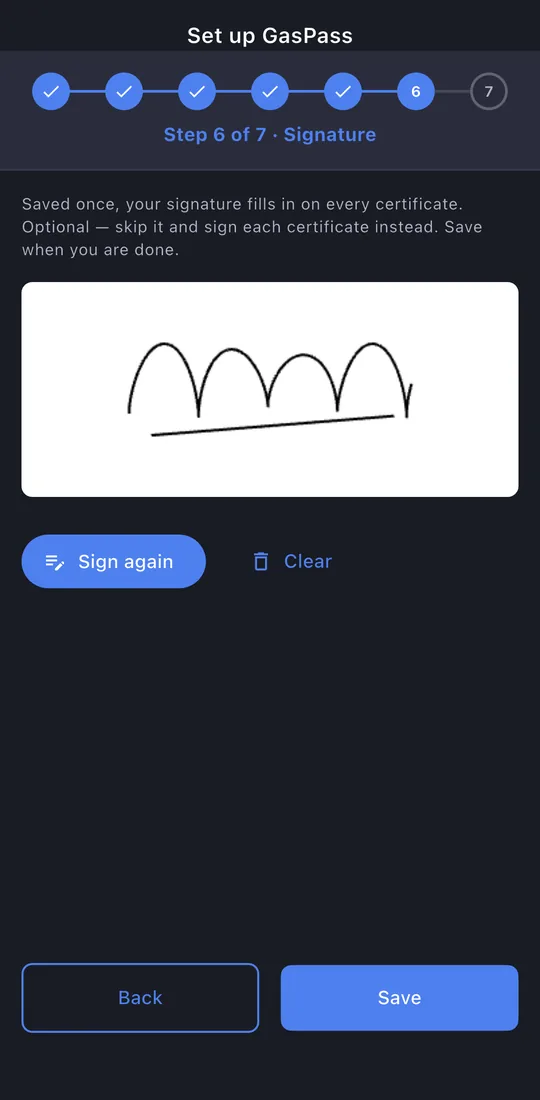
Tap Sign, sign with your finger and tap Save. It's saved once and fills in on every certificate. You can skip it and sign each certificate instead. Tap Save at the bottom to finish.
-
9You're all set
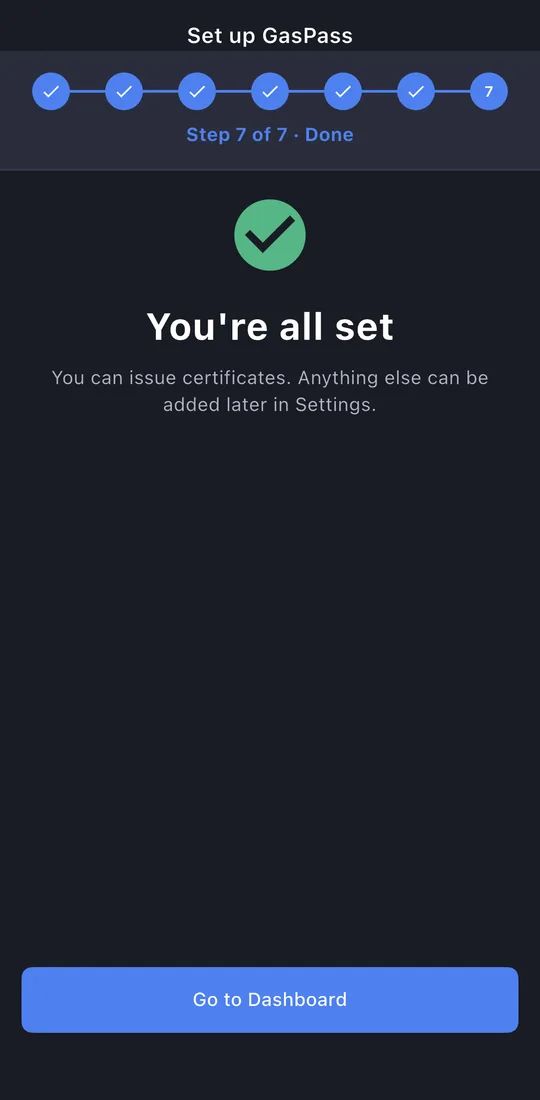
If anything a certificate needs is still missing, this screen lists it with Add now beside each one. Tap Go to Dashboard.
-
10Your dashboard
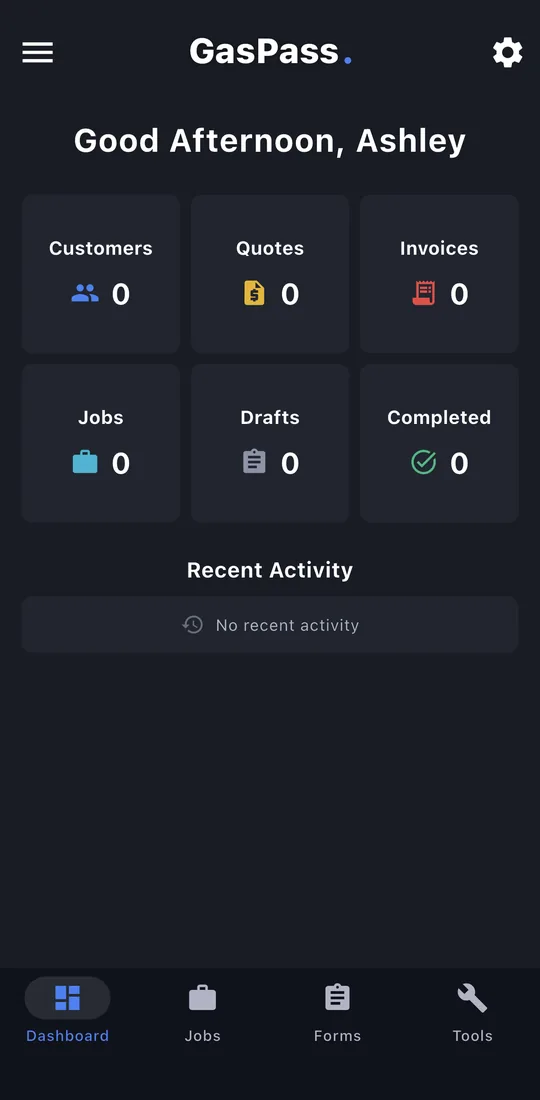
You're ready to go. Anything you skipped shows as a Finish setup card at the top of the dashboard until it's done.